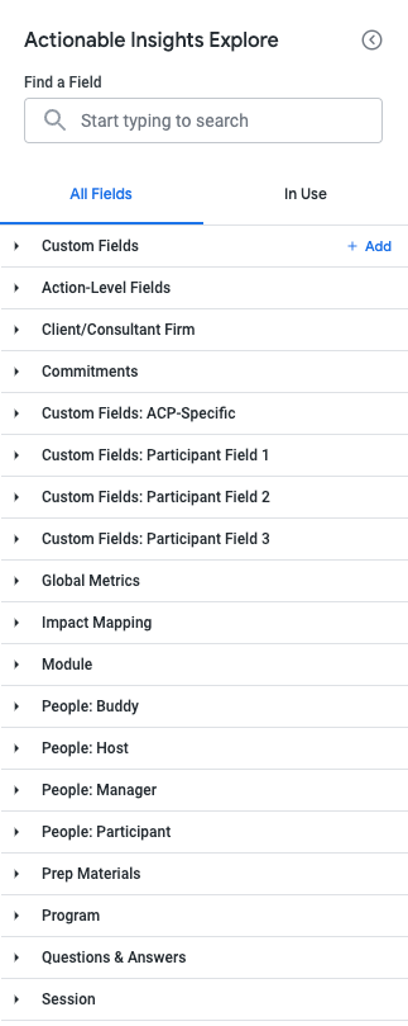
When you are building your own tables and visualizations, starting with the right Looker Explore is key. Which Explore you choose will determine what fields are available to you and what level of granularity you can show.
Note: Looker Explores are only available at Transform plans (and equivalent). To learn more about your plan options, please reach out to connect@actionable.co.
For more tips and information about how to use explores to build powerful visualizations, see the Explore Users training videos
Option 1: Actionable Insights Explore

This is the Explore you’ll use for nearly everything. It has nearly all of the available fields and is optimized for speed.
Use this explore for any metrics from the commitment level up to the firm level, such as
- Session-level reports
- Module-level reports
- Program-level reports
- Client-level reports
- Firm-level reports
The only thing this Explore doesn’t do is report on metrics by action date (like if you want to show check-ins just in a specific date range). For that you’ll need the other Explore.
Option 2: Actionable  Insights Explore
This Explore is built specifically to allow you to report on metrics by action date.
Use this explore for showing metrics over a specific period of time within a commitment window, such as
- Weekly engagement
- Rating change in week 1 of each commitment
The key field on this report is Action Date. Use that field as a filter to set the date range or time period.
