
You can use Preset filters as they are, or add and remove filters or choose whether those filters are required or optional. Once the filters are added, you can choose one or more values for each filter to see the desired data on your report.
Using text filters:
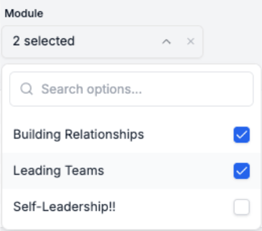
- Click into the filter
- Select the desired value(s)
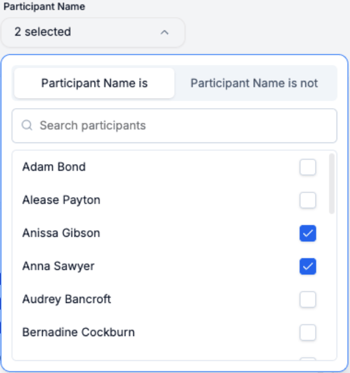
- For the Participant Name filter, choose "Participant Name is" or "Participant Name is not", depending on whether you want the chosen names included or excluded
Using date filters:
- Add the filter to your custom dashboard (see above)
- Click into the filter
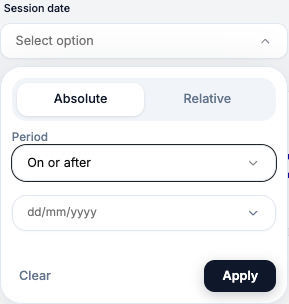
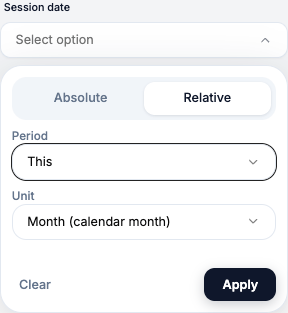
- Choose what type of date range you want to show: absolute or relative
- Absolute allows you to pick a specific start or end date or a specific date range. Ex: "on or after January 1, 2026" or "between June 1, 2025 and June 30, 2025"
- Relative allows you to pick a date range that shifts with the current day. Ex: "past 30 days" or "this year."
- Click "Apply"
If you choose a date range that does not match your data, you will see "No data available" on the widgets
Adding or removing a dashboard filter:
- Click on Dashboard Settings
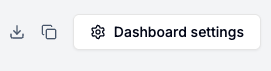
- Open the Filters dropdown
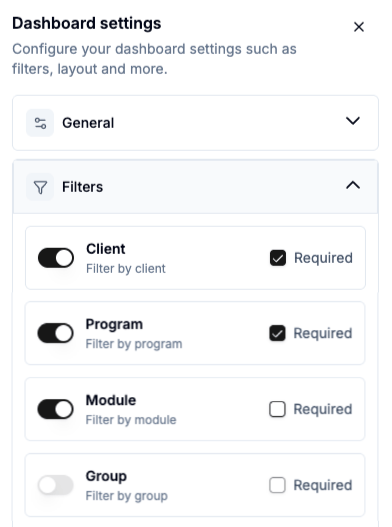
- Toggle filters on or off as desired
If you want the filter to be required, check the box next to Required.
For details on how to create custom dashboards see How Do I Make Changes to a Preset Dashboard?