
You'll have some or all of these options available to help tailor both the data and insights you include in your report, and the way you present them. You'll need to make sure you working in a custom report in "My Dashboards", and not an Actionable Preset. (Learn about copying Presets here).
Quick Links:
For details on how to edit existing widgets, check out this article instead: How Do I Edit a Widget on my Dashboard
Choose From the Widget Library
We have created a library of commonly used widgets that you can just drag and drop onto any custom dashboards in "My Dashboards."
Steps:
- Open your dashboard or report
-
Click "Add Widget"
- Make sure you're on the Widget Library tab
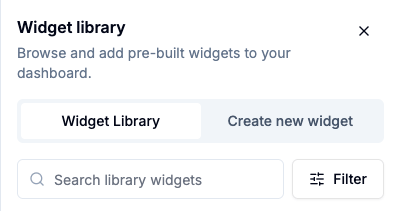
- Choose the widget you want. There are three ways to find a widget:
- Scroll through the whole list
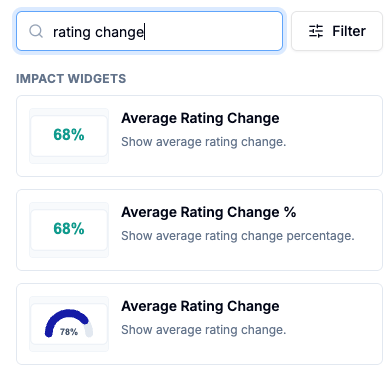
- Search for key words
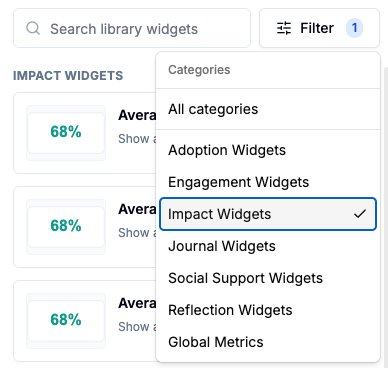
- Choose a filter category
- Hover over the desired widget. Click to grab and drag it onto your dashboard.
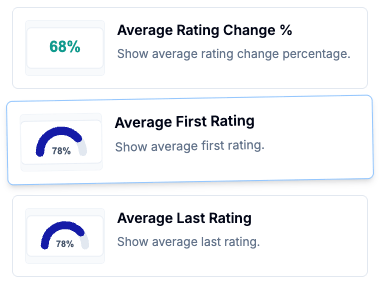
- Make sure to click Save Changes to save it in your dashboard.

Create a New Widget
- Open your dashboard or report.
-
Click "Add Widget."
- Select the "Create new widget" tab.
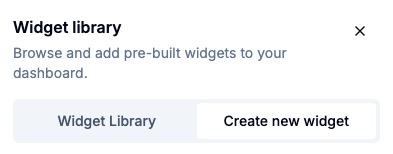
- Hover over the chart type you want (you can always change this later) and drag and drop the widget onto your dashboard.
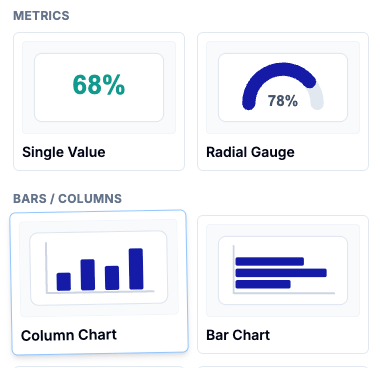
- The widget editor will open. Add a title for the widget.
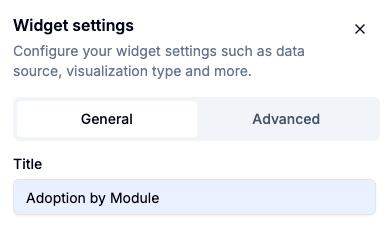
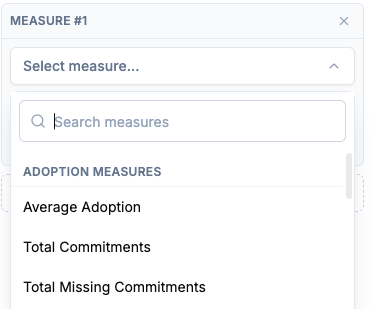
- Select "Add a measure."

- Choose the desired measure by searching or scrolling the list.
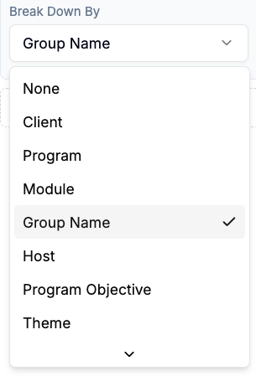
- Choose a breakdown category, if needed.
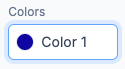
- Change the color if relevant.
-
Make sure to click Save Changes to add changes to your dashboard.
To make more changes to your created widget (colors, label sizes, widget-level filters, etc) see How Do I Edit a Widget on my Dashboard